Sheetrock Installation 101: From Preparation to Finishing Touches
Sheetrock installation, also known as drywall installation, is a fundamental aspect of interior construction that involves the mounting and finishing of gypsum panels to create smooth, seamless walls and ceilings. Whether you’re embarking on a DIY project or hiring a professional contractor, understanding the basics of sheetrock installation is essential for achieving high-quality results. In this guide, we’ll walk you through the step-by-step process of sheetrock installation, from preparation to finishing touches.
Preparation
1. Measurement and Planning
Before beginning sheetrock installation, carefully measure the dimensions of the walls and ceilings to determine the quantity of drywall panels needed. Plan the layout to minimize waste and ensure proper alignment of seams and joints.
2. Gathering Materials and Tools
Gather all necessary materials and tools for sheetrock installation, including drywall panels, screws, joint compound (mud), tape, corner beads, a drywall saw or utility knife, a screw gun or drill, a T-square, a tape measure, and a ladder or scaffolding.
Installation
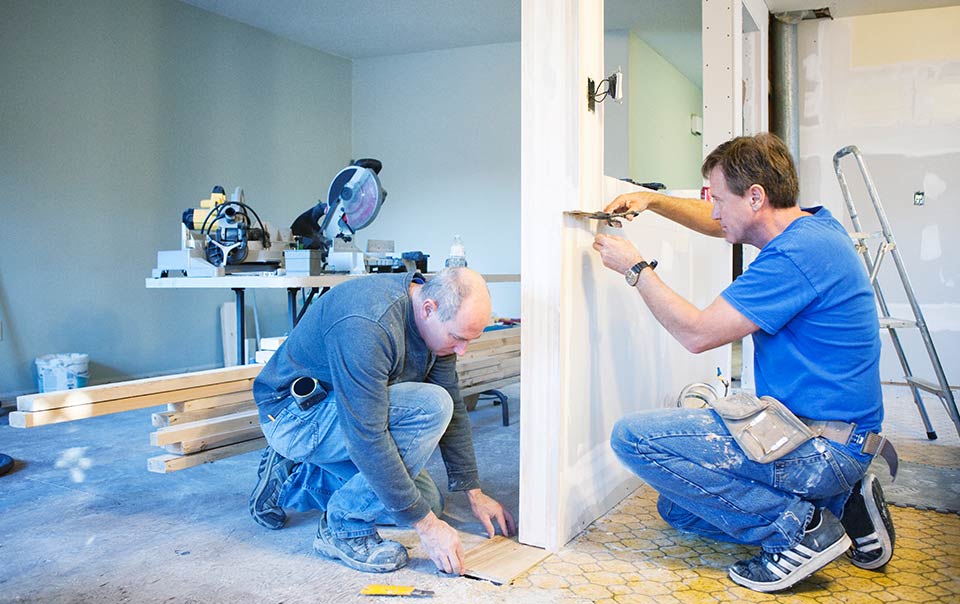
3. Cutting and Fitting Drywall Panels
Using a drywall saw or utility knife, cut drywall panels to the appropriate size for each wall or ceiling section. Ensure that panels fit snugly against corners and edges, leaving a small gap (approximately 1/8 inch) between panels to accommodate expansion.
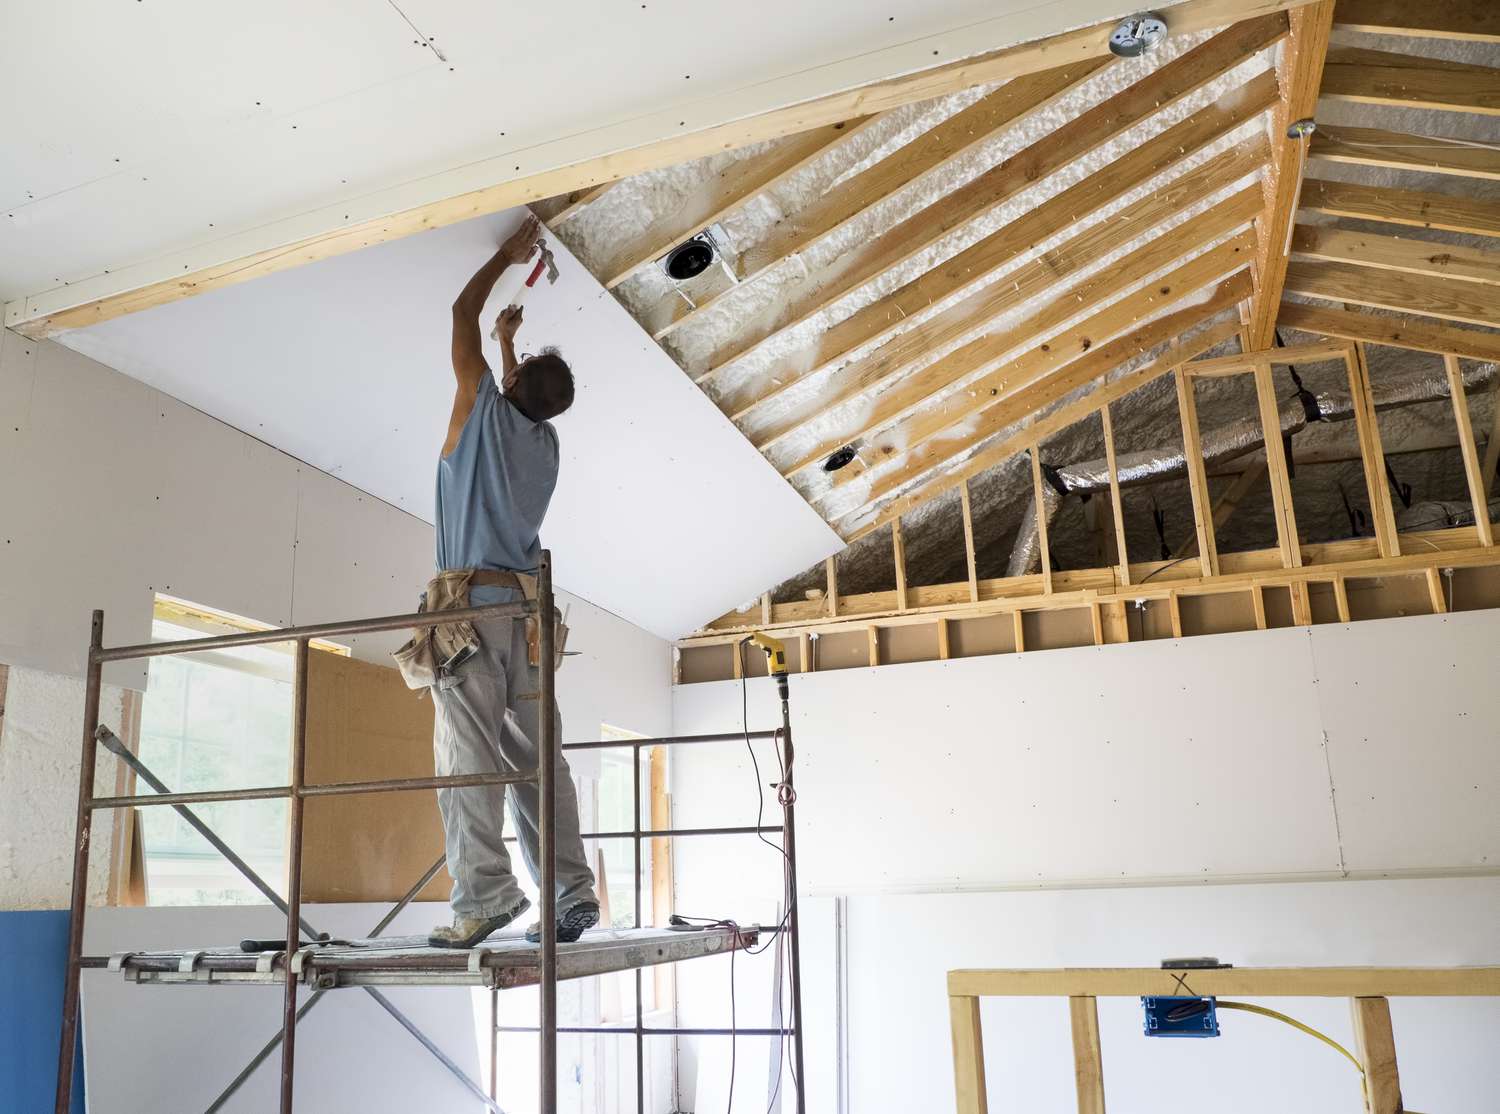
4. Attaching Drywall Panels
Secure drywall panels to wall studs or ceiling joists using drywall screws, spacing screws approximately 12 inches apart along the edges and 16 inches apart in the center of panels. Be sure to countersink screws slightly below the surface of the drywall without breaking the paper.
5. Taping and Mudding Joints
Apply joint tape to seams between drywall panels, pressing it firmly into a layer of joint compound (mud) applied with a drywall knife. Smooth out excess mud, then apply additional coats of mud over the tape, feathering edges outward with each coat. Allow mud to dry between coats.
Finishing Touches
6. Sanding and Smoothing
Once joint compound is fully dry, sand the surface of the drywall with fine-grit sandpaper to smooth out any imperfections or rough edges. Be sure to wear a dust mask and eye protection while sanding.
7. Installing Corner Beads
Install metal or vinyl corner beads over outside corners to protect and reinforce edges. Apply joint compound over corner beads, feathering edges outward to create a seamless transition between bead and drywall.
8. Priming and Painting
After finishing touches are complete, prime the surface of the drywall to seal and prepare it for painting. Once primer is dry, apply paint in desired color and finish, using a roller or paintbrush for even coverage.
Conclusion
Sheetrock installation is a straightforward process that can be completed with careful planning, attention to detail, and the right tools and materials. By following these step-by-step instructions from preparation to finishing touches, you can achieve professional-quality results and create smooth, seamless walls and ceilings in your home or project space. Whether you’re a DIY enthusiast or a seasoned professional, mastering the art of sheetrock installation opens up a world of possibilities for interior construction and design.